
Cutting a subject out of its background is one of the most common photo edits there is. Product listings need clean white backgrounds, profile pictures look sharper on a plain color, and slides and thumbnails need a transparent PNG. There are two good ways to remove the background from an image online: select and mask the subject yourself in a free browser editor, or let an AI background remover do it in one click.
Here is how both work, when to use which, and how to export the result and place it on a new background.
Two ways to remove a background
The manual way: selections and layer masks
In a layer-based editor you first make a selection around the subject, then turn it into a layer mask, which hides the background instead of deleting it. Because the pixels are only hidden, you can paint parts back in at any time.
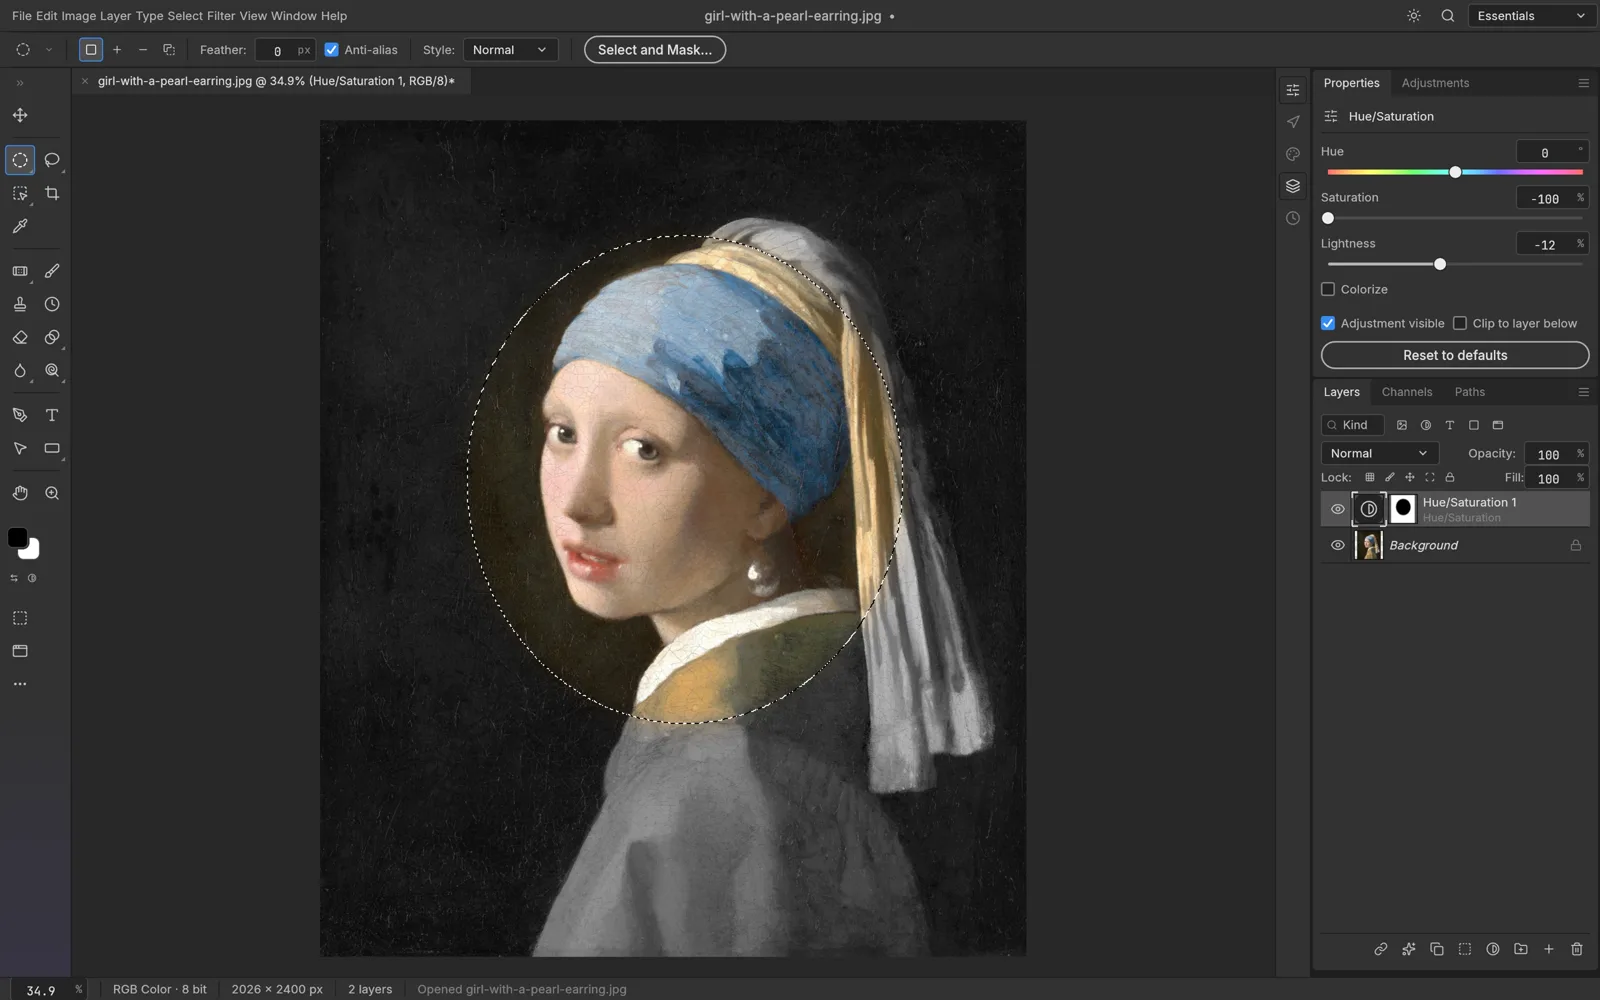
The free online photo editor on AI PS Online works exactly like this. It runs in your browser tab, uses familiar Photoshop-style tools and menus, and the files you open in it stay on your device.
The one-click way: an AI background remover
An AI background remover skips the selection step. You upload a photo, a model detects the main subject, and you download a transparent PNG seconds later. Each run uses a small number of credits, shown on the button before you start, and failed runs are refunded. Your photo is processed by our AI model provider to create the result.
How to remove a background by hand in the free editor
- Open your image. Drag a JPG, PNG, WebP or layered PSD into the editor, or use File › Open.
- Make a first selection. Try Select › Subject for an automatic first guess. For a subject with a clear outline, paint over it with the Quick Selection tool and the selection snaps to the edges. If the background is a plain, even color, click it with the Magic Wand and invert the selection with Select › Inverse. For a single object, drag a box with the Object Selection tool.
- Fix the obvious mistakes. Zoom in and use the tool's add and subtract modes to include a missed arm or exclude a gap between the legs. Don't chase every hair yet.
- Refine the edge. Open Select and Mask. Widen the edge radius around hair or fur, smooth out jagged steps, add no more than a pixel or two of feather, and shift the edge slightly inward if you see a halo. Color decontamination removes background color that has bled into the edge. Set the output to a layer mask.
- Touch up the mask. The background now shows as a transparency checkerboard. Paint on the mask with black to hide more and white to bring areas back; a soft, low-opacity brush suits semi-transparent edges.
- Test on a contrasting color. Add a Solid Color fill layer below the subject and switch it between a bright and a dark color. Halos and leftover specks become easy to spot.
- Export a transparent PNG. Use File › Export › Export As and choose PNG. Save a PSD copy too if you might adjust the mask later.
How to remove a background with AI in one click
- Upload the photo. Drop, paste or choose a JPG, PNG or WebP up to 10 MB. People, products, pets and cars all work.
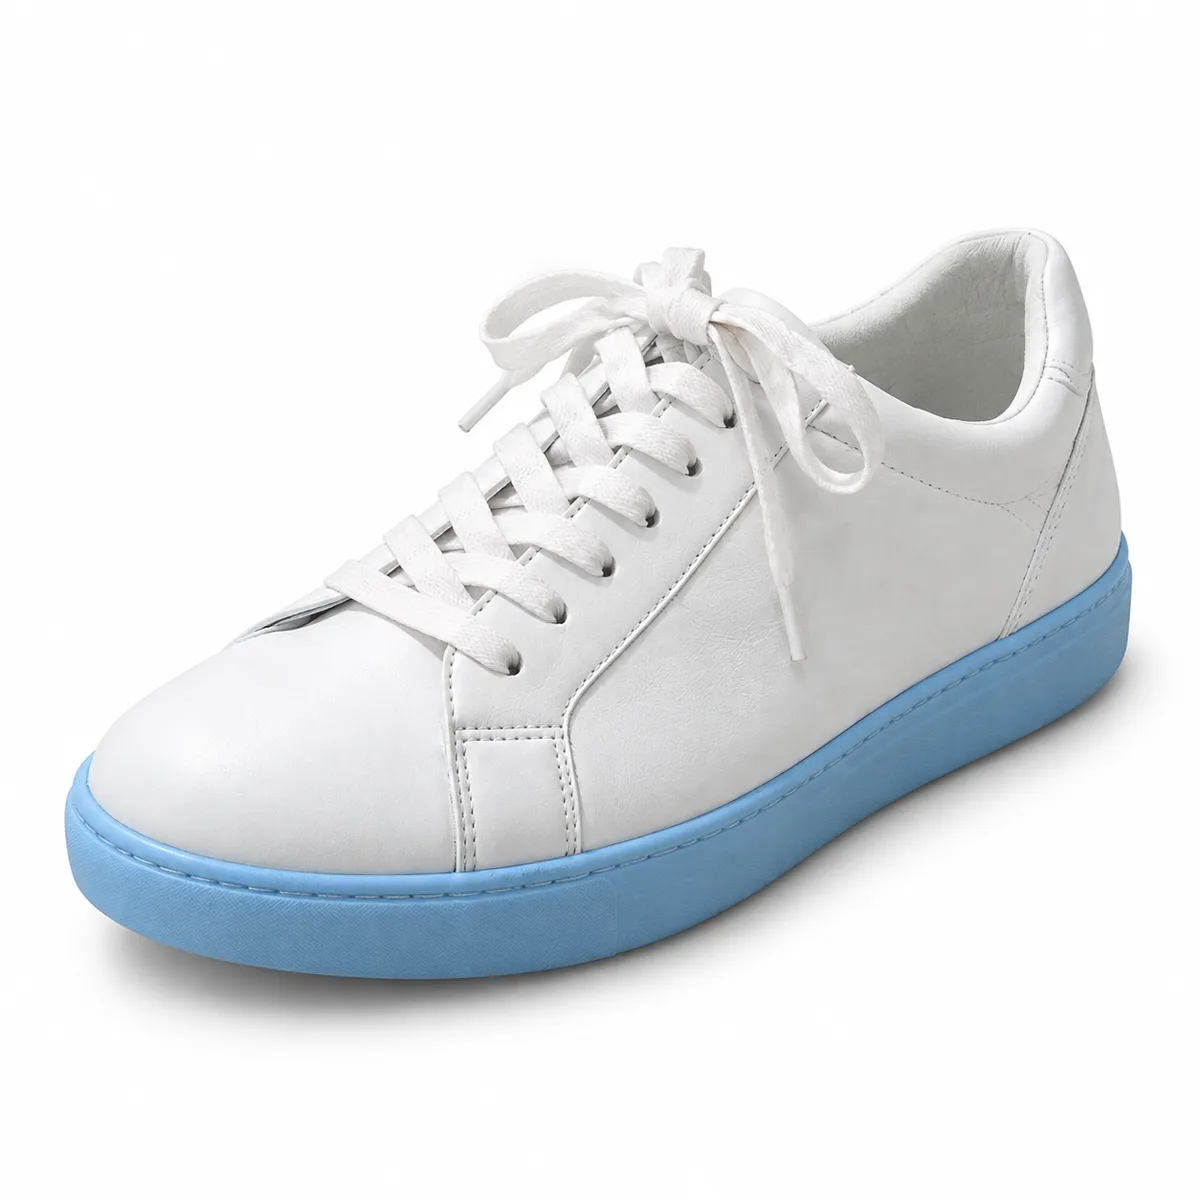
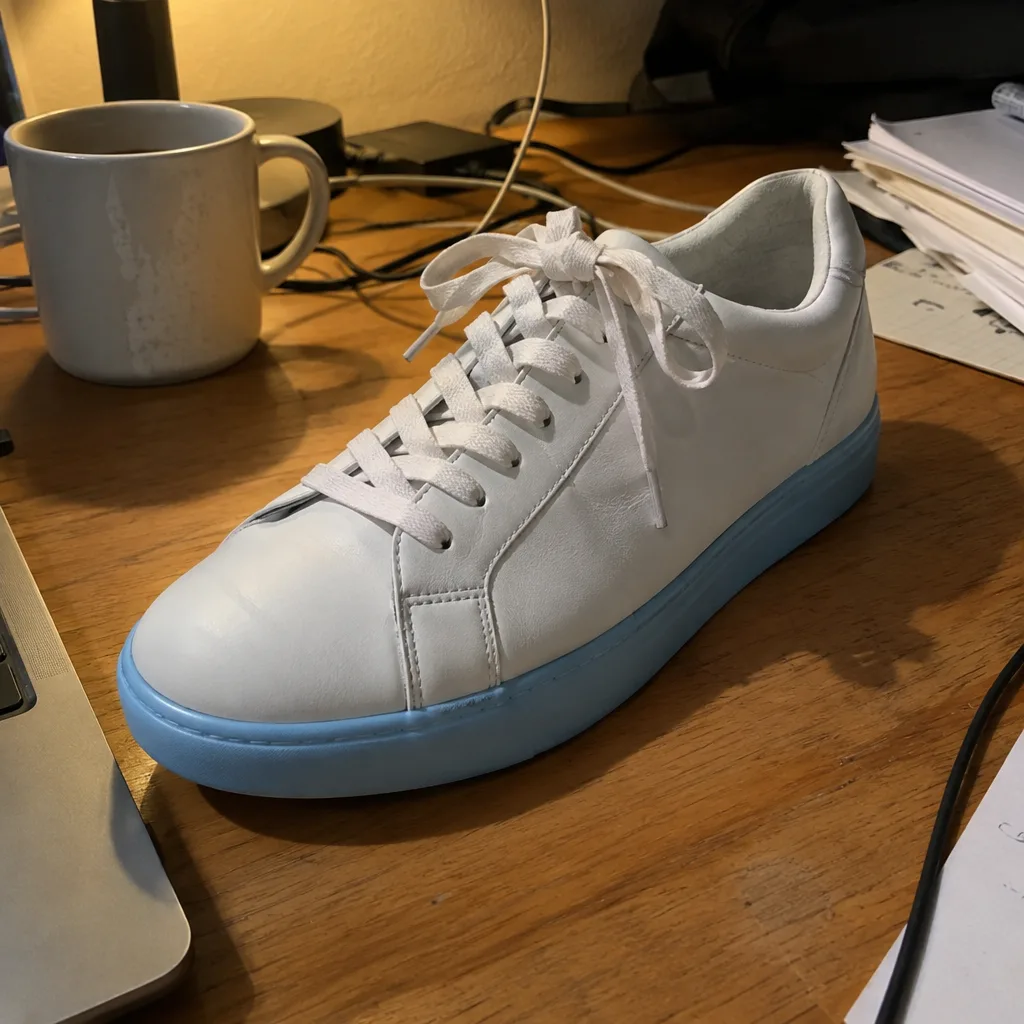
- Press Generate. The model finds the main subject and removes everything behind it, usually within seconds.
- Check and download. Preview the cut-out on transparent, white and dark backdrops, then download the PNG. It is also saved in My Creations.
 BeforeAfter
Manual or AI: which should you use?
Use the AI background remover when the main subject is clear and reasonably separated from the background, when you need many cut-outs quickly, such as a batch of product photos, or when you'd rather not learn selection tools for a one-off job.
Use the editor when you need to decide exactly what stays (a product's shadow, or a second person the AI might treat as background), when the subject is glass, smoke or sheer fabric, when you want a mask you can keep adjusting, or when you want a free method that keeps the file on your computer.
Or combine them. Run the AI remover first, then open the PNG in the editor to erase a leftover speck or soften a hard edge.
Tips for hair, fur and tricky edges
- Start with the largest version of the photo. Fine detail needs pixels, so run a small image through the AI image upscaler first.
- Contrast is everything. Dark hair against a dark, busy background is the hardest case for any tool. When shooting, use a plain wall that contrasts with your subject.
- Don't over-feather. A large feather blurs the whole outline. Widen the edge radius around hair instead and keep product edges crisp.
- Remove color fringes. A thin rim of the old background color stands out on a new one. Shift the edge inward, use color decontamination, or try Layer › Matting › Defringe.
- Decide about shadows. Background removal usually removes the shadow too; for product shots, paint a soft one back on its own layer.
Exporting a transparent PNG correctly
Transparency only survives in formats with an alpha channel: PNG is the safe choice and WebP also works. JPG cannot store transparency, so a cut-out saved as JPG gets a solid fill. Crop close to the subject with a little padding, and keep the layered PSD if you masked by hand.
How to put your subject on a new background
In the editor (free, full control):
- Open the new background image and place your transparent PNG on a layer above it.
- Resize and position the subject with Edit › Free Transform.
- Match light and color with a Curves or Hue/Saturation adjustment layer on the subject.
- Paint a soft shadow on a separate layer under the subject, then save and export.
With AI (fastest): the AI background changer starts from your original photo, so you don't need a cut-out at all. Pick a scene such as a white studio, a beach at sunset or a city at night, add details if you like, and the AI replaces the background and relights your subject to match. It uses credits per run, and because it is generative AI, small details can shift, so compare the result with your original.

 BeforeAfter
FAQ
Is it free to remove a background from an image?
By hand, yes: the online photo editor is free. The AI background remover uses a small number of credits per image. The cost is shown before you start, and credits are refunded if a run fails.
Why does my "transparent" PNG have a white background?
Either it was saved as JPG, or your viewer shows transparent areas as white. If the editor shows a checkerboard, the transparency is there.
How do I get clean edges around hair?
Use the largest version of the photo and a background that contrasts with the hair. In Select and Mask, widen the edge radius around the hair instead of feathering heavily, and fix color fringes by shifting the edge inward or using color decontamination. The AI background remover is designed to keep soft edges such as hair and fur.
Are my photos uploaded anywhere?
Not with the editor: it runs locally in your browser, and your files stay on your device. Photos you send to the AI tools are uploaded to our storage, processed by our AI model provider, and saved in My Creations. Only upload photos you have the right to edit.